Don’t cha love chicken katsu (チキンカツ)? I do! Imagine fried breaded thin slice of chicken… so tender and yummy. What’s not to like?
First thing first, what’s katsu? Katsu is actually the shortened name for katsuretsu. And yes, katsu/katsuretsu means cutlet or schnitzel. It’s a dish that’s famous worldwide, originating from Austria I believe. Different types of meat can be used to make katsu such as veal, pork, chicken, etc.
The most common katsu in Japan is actually tonkatsu which means pork cutlet. In this post I’ll share with you on how to make chicken katsu (also known as tori katsu). And yes, I use this recipe for making tonkatsu too. I’ve made chicken katsu twice so far and lovin’ it both times. One of the characteristics of a katsu is the thin slice of meat. Use a meat tenderizer/pounder to make the meat thinner and also so that they fry evenly. With the use of breadcrumb, you also want the outer layer to be crisp after frying. For this, I really recommend panko breadcrumbs and a method I learned from Just One Cookbook on how to achieve and maintain its crispiness; by double frying. Now I know why the Nyonya inchi kabin recipe requires frying twice. *always learning hehe

My lovely crispy chicken katsu. 💝
Let’s get frying!
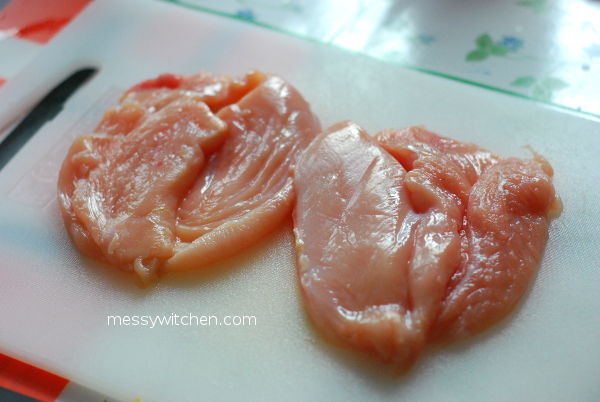
Butterflied chicken breasts.
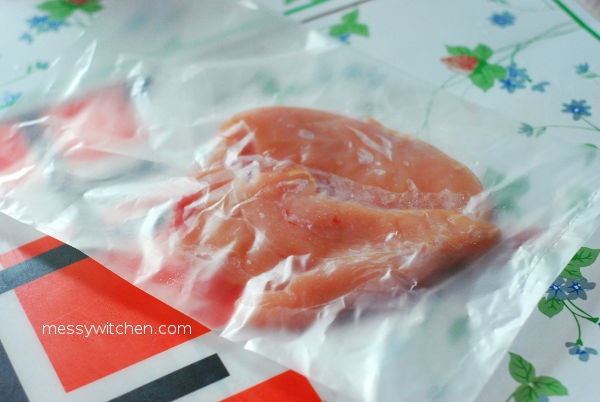
Place a piece of chicken in a plastic bag or cover with cling film. Then use the meat tenderizer to flatten the meat. I use the back of the saucepan since I don’t have a meat tenderizer/pounder. I use a plastic bag to contain the meat juice (if any) during pounding (less messier and cleaner).
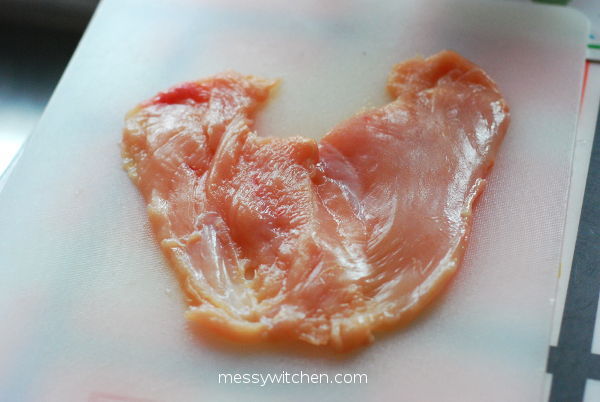
Flatten chicken breast. Season them with salt and pepper on both sides.
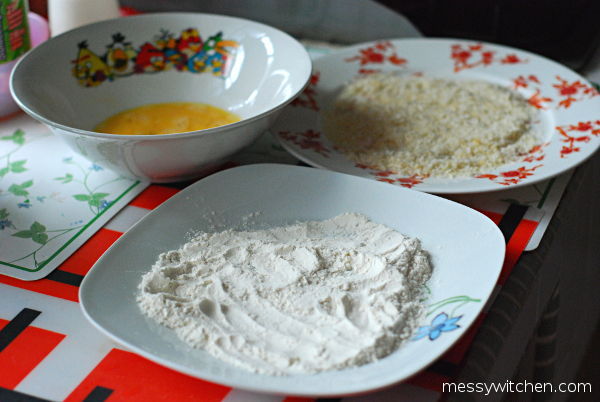
The dusting, dipping and coating station; consist of flour, egg and panko. They are seasoned with tiny pinch of salt and pepper.
You can start heating a skillet or frying pan with about 1~1.5cm of oil. Set to medium heat.
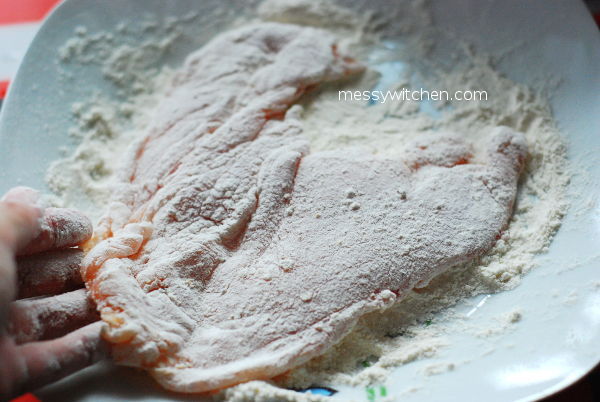
Dust chicken on both sides with flour. Lightly shake off the excess.
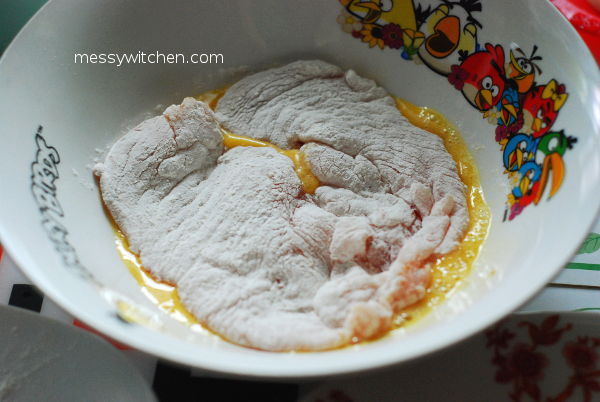
Now dip it in beaten egg on both sides. Drip off the excess.
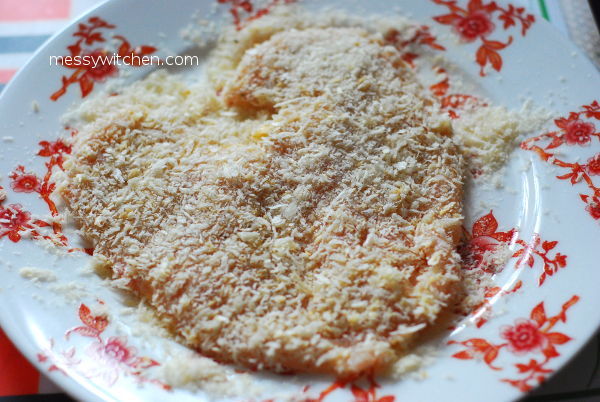
Then coat the chicken with panko on both sides. Press gently so the panko stick to the chicken.
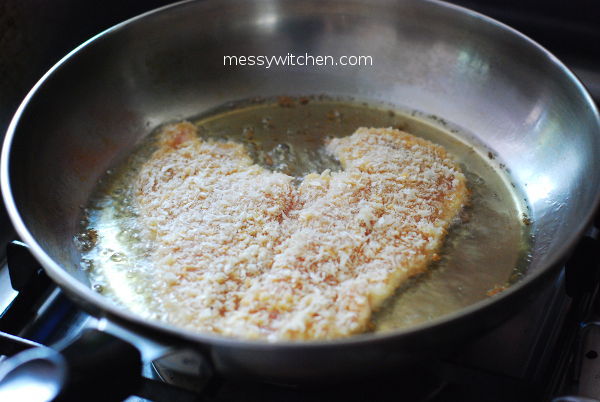
As soon as the oil is perfect for frying (check recipe below for full details), carefully place the breaded chicken breast into the oil. Fry on each side for 1 minute and let it rest for about 4 minutes on a wire rack.
Finally fry the chicken katsu for the second time, about a minute or less on each side until cooked. Let the crispy chicken katsu rest for few minutes on wire rack.
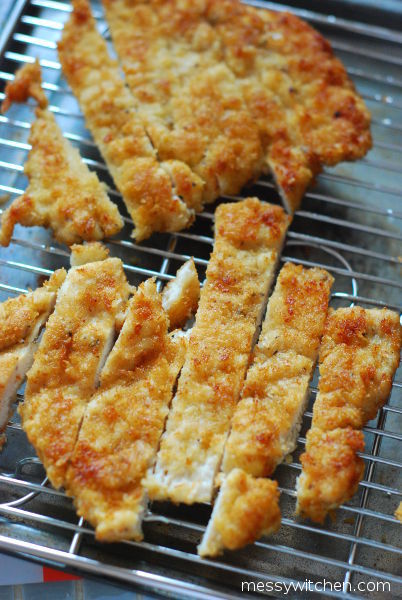
You can choose to serve the crispy chicken katsu as it is or slice into smaller strips. Chicken katsu is best pair with tonkatsu sauce and finely sliced cabbage. A warm bowl of rice will do wonders too. Hmmm maybe add some nori strips and kimchi too.
If you don’t have tonkatsu sauce, you can make your own (lots of recipes online). For my case, I substituted it with takoyaki sauce since I sometimes make takoyaki. Works like a charm. Hehe
Please don’t be turned off by the long winding steps in the recipe below. It’s actually very easy to make. It’s just that I was too long-winded. LOL Let me know if you like this. 😉
Crispy Chicken Katsu
Serves 2
2 skinless chicken breasts, deboned and cleaned (~ 350g)
1 cup flour
1 egg, beaten
1 cup panko
Cooking oil
Salt
Pepper
Method:
1. Butterfly each chicken breast. To butterfly a chicken breast, slice the meat lengthwise horizontally from one end while leaving the other end intact. Open out the breast. It now resembles a butterfly.
2. Place a butterflied chicken breast in a see-through plastic bag or place on a cutting board and cover with a sheet of cling film. These ways are less messy. Or you can simply place the chicken breast on a cutting board.
3. Use a meat tenderizer/pounder and pound on the meat to create even thickness. You can also use the back of a saucepan (like what I did), rolling pin or back of a knife. Repeat step 2 and 3 on the other chicken breast.
4. Place both breasts on a large plate and season with salt and pepper. Salt quantity is about a pinch on each side.
5. Season the flour, egg and panko with tiny pinch of salt and pepper.
6. Meanwhile, heat a skillet with about 1~1.5cm of oil over medium heat.
7. Dust the chicken breast on both sides with flour and remove the excess.
8. Next, dip the chicken breast in beaten egg. Make sure you coat both side and allow the excess to drip off.
9. Then coat the breast with panko breadcrumbs on both side by pressing gently. Remove the excess.
10. To test whether the oil is hot enough for frying, place a chopstick in the oil and if it bubbles around the chopstick that means it’s ready (taught by grandma). Or you can drop a piece of panko, if it bubbles rapidly around the panko, that’s a good sign. Now slowly slide the chicken breast into the hot oil. Fry for 1 minute each on both sides. If your chicken breast is very thin, then even less time. If the oil is too hot (you start seeing smoke coming up or panko start turning dark golden real fast), turn down the heat.
Note: The temperature for frying chicken katsu is 175~180oC.
11. Remove the chicken katsu and let it rest on a wire rack for about 4-5 minutes. Pick up the strayed breadcrumbs with a strainer.
12. Repeat step 7 to 11 on the other chicken breast. Feel free to top up more flour and panko if the quantity is not enough in step 7 and 9.
13. Now return back the fried chicken katsu into the oil for second time frying. Make sure the oil is hot enough. Fry for 1 minute (or less) on both sides. Frying time depending on meat thickness & doneness. To check if the chicken katsu is cooked, I use the sharp edge of the wok turner to poke at the meat at several areas. If it goes through easily, then the meat is cook. If not, cook a little more.
14. Remove the chicken katsu and let it rest for 3-5 minutes on a wire rack. You can also opt to slice the katsu into smaller strips. Serve with thinly sliced cabbage and tonkatsu sauce and perhaps also a bowl of hot steaming rice. 😉
Enjoy!


2 Comments
Wow! Drooling….
Thank you Foong!